
The sweater after felting, missing one sleeve which was removed before felting for frogging purposes.

Using a vintage boar bristle brush to remove any pilling and liven up the hairs on the wool.

Using a big cast enamel pot from the kitchen for drying and shaping what will be the outer edge of the cat bed. At this point the sweater body has been cut and turned in for a doubled layer if you get what i mean

some of the yarn that was frogged from the unfelted sleeve after it was soaked in warm water to take out some of the kinks, and then hung to dry with a plastic hanger as a weight to also help straighten out the kinky yarn.

Using the other felted sleeve from the washed sweater that will be enough fabric for the bottom of the "pie". Roughly cutting out a general circle shape leaving enough extra on the edges for seam allowance.

Using a permanent marker(recommend chalk for a darker wool), and the same pot I used for shaping, I traced an exact circle onto my roughly cut pie bottom.

Here is what it will look like after tracing.

Estimating what I will need for a seam allowance. Cutting off the rough edge of the circle.

The final bottom piece ready to be hand stitched to the outer part of the bed.

The needle I used for hand stitching with this big yarn. The needle is just something I found at a thrift store and had in my tool cabinet, so it seemed like it would work for the job, and it did work very well.
Working the outer edge in what I think is called blanket stitch.

Half way there and going well...getting excited to see this done!!

Another photo of progress, here you can see the outer edge a little better. I lined the bottom circle flush with the outer side pieces and started stitching.

What the bottom looks like finished!

Finished Inside top view!

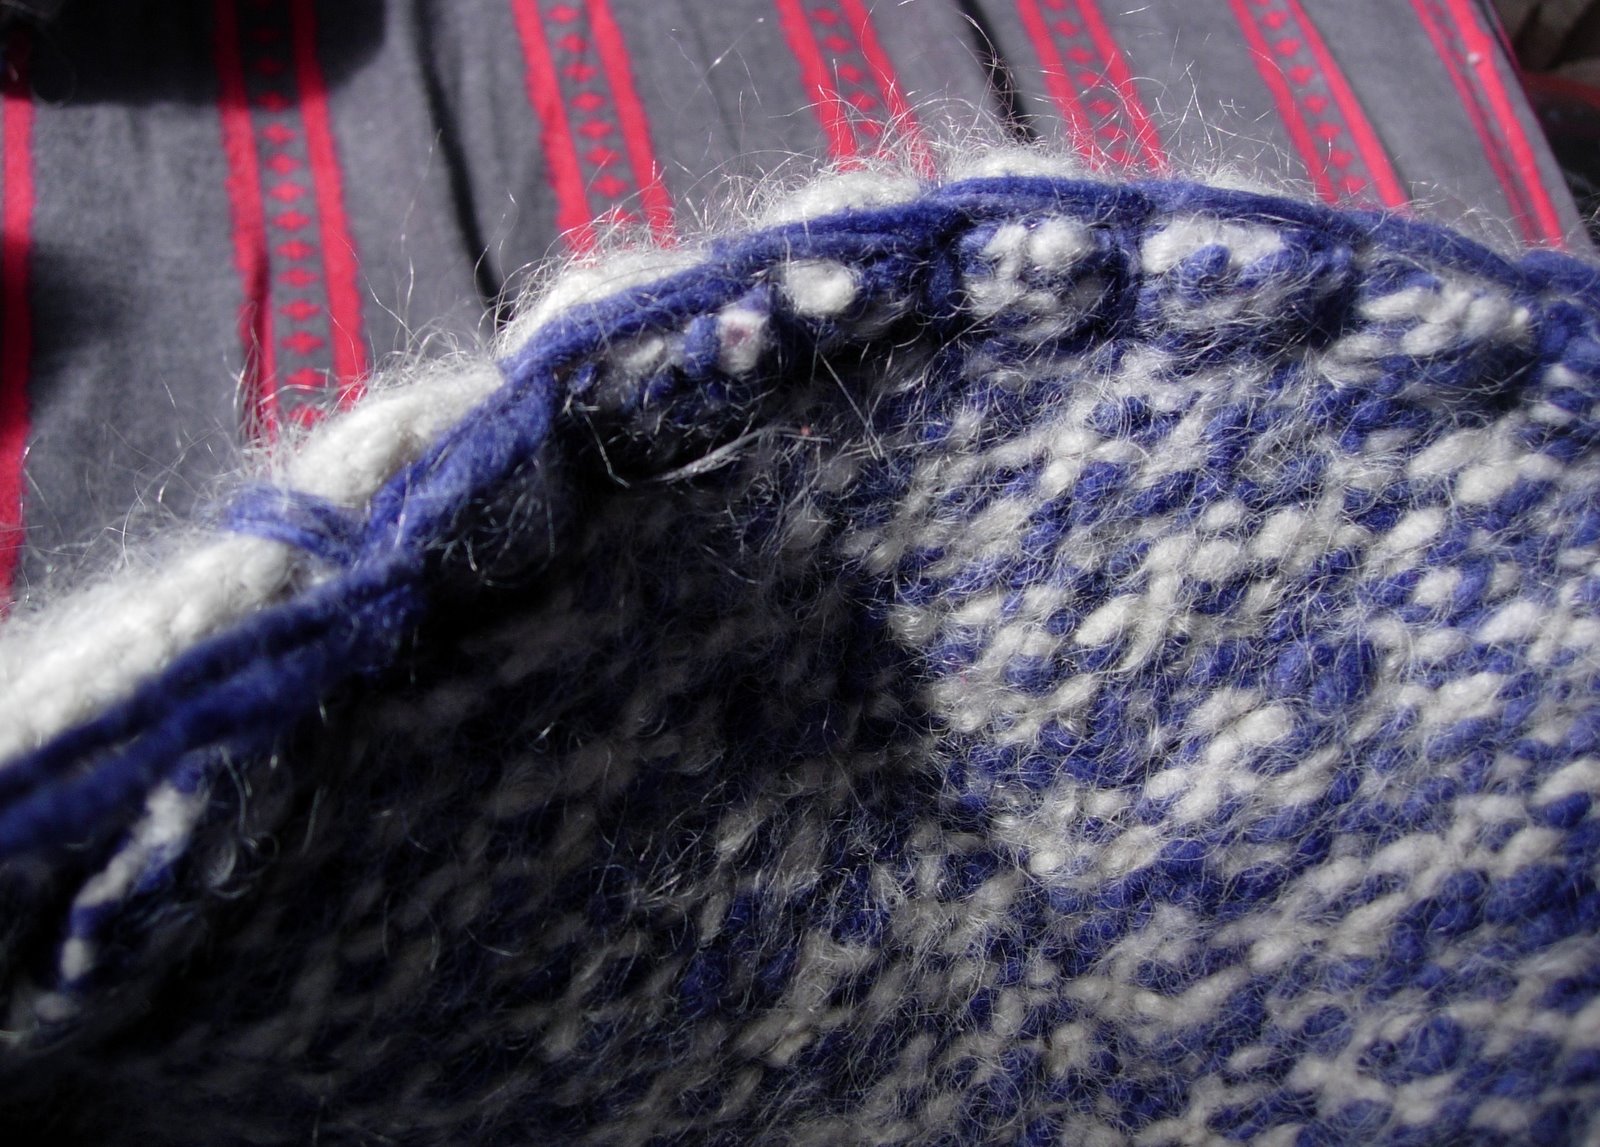
Finished blanket stitched edge!

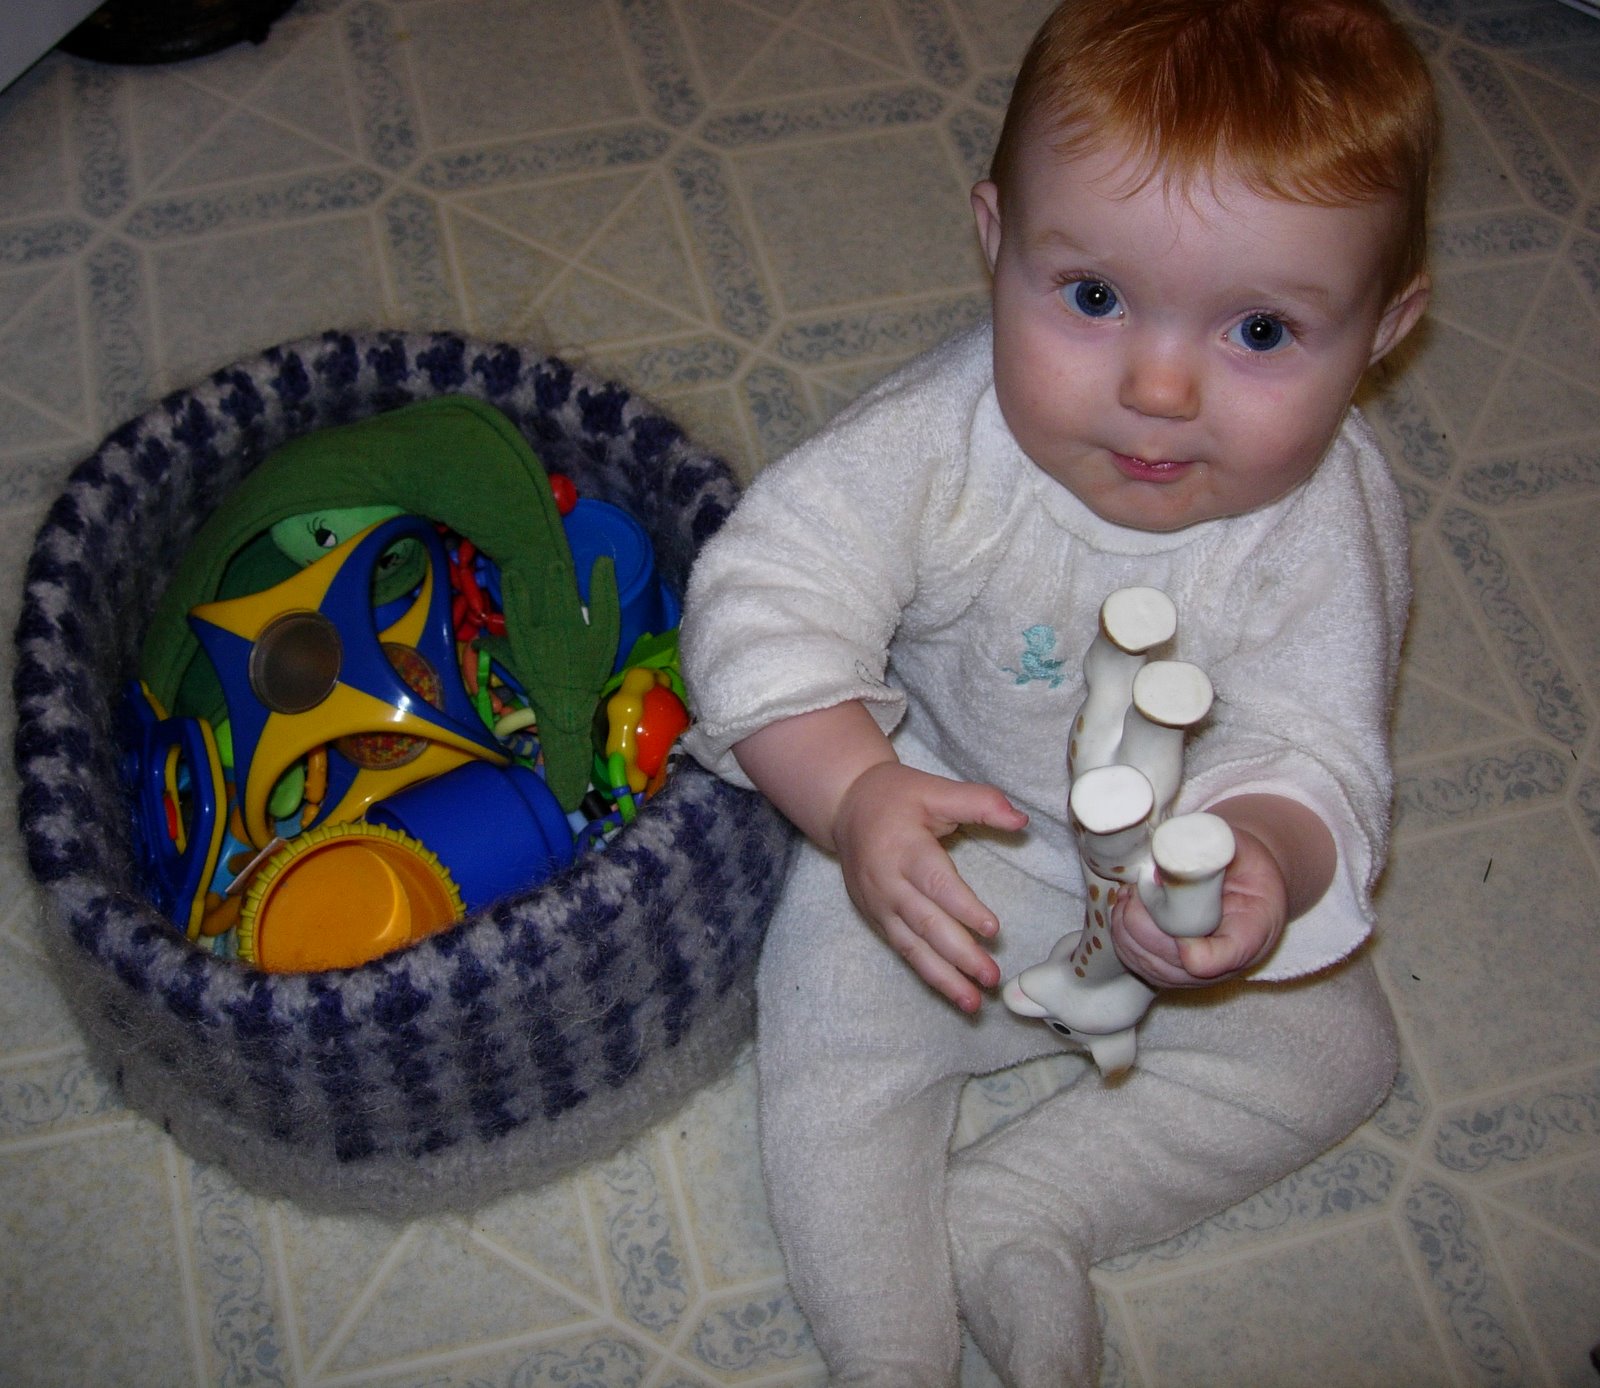
Baby basket?


Or new toy basket?

No comments:
Post a Comment