Sunday, April 10, 2011

Construction Of A Sweater

For the past two days i have been enduring a migraine, that is accompanying my "bloody days." Between curing myself with dark chocolate, ice packs, and rest, i have been able to, during the tolerable moments of my body aching, be up and dabbling with the challenge of constructing this sweater for my littlest gal. I love the phase of construction in making things. I think i probably learned this love, or passion from my dad who in his earlier days, restored and constructed from a mere rusty skeleton of a car body, beautiful pre-war chevrolets. how do you translate working on cars to clothing? That is something i am still pondering.

The sweater being upcycled is 100% Cashmere, thrift store find, heather beige, size medium, lightly felted.


The Before Sweater:


In Construction Phase...

Sunday, April 3, 2011

Biggest Sweaters!

a couple weeks ago, our local thrift store was having 50% off all sweaters for the week. So i decided to pick up a few i had been admiring on a previous shopping trip there for upcycling purposes. I think i may have found the two biggest sweaters yet!!


Saturday, April 2, 2011

Ellastaria Gets A New Hat


While in the months of being pregnant with our second child, and experiencing difficulty in moving around and being on my feet due to a large belly, I found comfort in sitting down to my sewing machine and focusing my energy on making little garments for our baby to be...probably part of the nesting syndrome. Originally this was to be a little hat for our newborn, however perhaps it was my pattern copy printed too small or not remembering to allow for seams, but the hat was just looking a bit too small for the head of any baby I would have.....so Cora's doll, Ellastaria acquired a new hat. Constructed from a felted cashmere sweater. For the ties, I used the "wonderful worms" from the seams of the sweater. At the moment I cannot remember which tutorial I used, so here are links to two great pilot hats... here and here.

Friday, March 25, 2011

Spring Break


It is spring break this week for my daughter who is in kindergarten, and so not much of a chance to bring any of my projects to completion, but i am loving having her home. Having full days with her lately, I have had a chance to see what a bright, creative, whimsical, fun spirited, and articulate girl she has grown into this last school season. I mean she has always been that way, but she is even more so now...I have been working on some fun posts in the meantime but haven't had a chance to capture photos of them, so by next week, you may see some of my drafted posts that are from past dates finally up and readable to a wider audience than just me, but you'll have to go back in time and look through the older posts to find them.

on another note, i haven't figured out how to post photos so that they appear after my writing or in the order that i want them when i am just uploading them on blogger, so this post is not presented the way i intended it to be...more to learn

Friday, March 18, 2011

Paper or Plastic?

On account of not being able to locate my *pattern paper today or find my daughters tracing paper pad, I came up with this handy way to make pattern pieces. I needed something see through, and as I looked around the room for options, a plastic bag holding some cashmere sweater scraps seemed like a bright idea. It met all the requirements, see through, and flexible, not to mention one more way to recycle a plastic bag.

I am sure somewhere on the globe this has already been done. But at least for today, here in Minnesota, it was my new bright idea.

*pattern paper in my definition of the words is either wrapping tissue, or the large remnant pieces I cut away from store bought patterns and have on hand in my sewing cabinet. Occasionally a harder cardstock works well for certain patterns.
Posted by Picasa

Sunday, March 13, 2011

How Many Projects Can You Make From One Sweater?


Sometimes I have a hard time cutting into a sweater, because I can see more than one possiblity for the sweater. Sometimes one project might take the whole sweater leaving only a few scraps behind, and other times a project may just need a sleeves worth leaving mostly the whole sweater for some other possiblities. Here is what I made with one sweater, with only some scrap to spare...

Made from one sweater-a vest made for my six year old, baby booties, and a pair of legwarmers.

The fourth photo shows what scrap of the sweater was left in the lower right hand corner. The color is a beautiful periwinkle heather. Perhaps it will become another pair of baby booties, barrettes for the hair, or little blue bird ornaments to adorn a twig...the possibilities are endless.

Saturday, March 12, 2011

My First Tutorial!


The sweater after felting, missing one sleeve which was removed before felting for frogging purposes.

Using a vintage boar bristle brush to remove any pilling and liven up the hairs on the wool.

Using a big cast enamel pot from the kitchen for drying and shaping what will be the outer edge of the cat bed. At this point the sweater body has been cut and turned in for a doubled layer if you get what i mean

some of the yarn that was frogged from the unfelted sleeve after it was soaked in warm water to take out some of the kinks, and then hung to dry with a plastic hanger as a weight to also help straighten out the kinky yarn.

Using the other felted sleeve from the washed sweater that will be enough fabric for the bottom of the "pie". Roughly cutting out a general circle shape leaving enough extra on the edges for seam allowance.

Using a permanent marker(recommend chalk for a darker wool), and the same pot I used for shaping, I traced an exact circle onto my roughly cut pie bottom.

Here is what it will look like after tracing.

Estimating what I will need for a seam allowance. Cutting off the rough edge of the circle.

The final bottom piece ready to be hand stitched to the outer part of the bed.

The needle I used for hand stitching with this big yarn. The needle is just something I found at a thrift store and had in my tool cabinet, so it seemed like it would work for the job, and it did work very well.

Working the outer edge in what I think is called blanket stitch.

Half way there and going well...getting excited to see this done!!

Another photo of progress, here you can see the outer edge a little better. I lined the bottom circle flush with the outer side pieces and started stitching.

What the bottom looks like finished!

Finished Inside top view!

Finished blanket stitched edge!

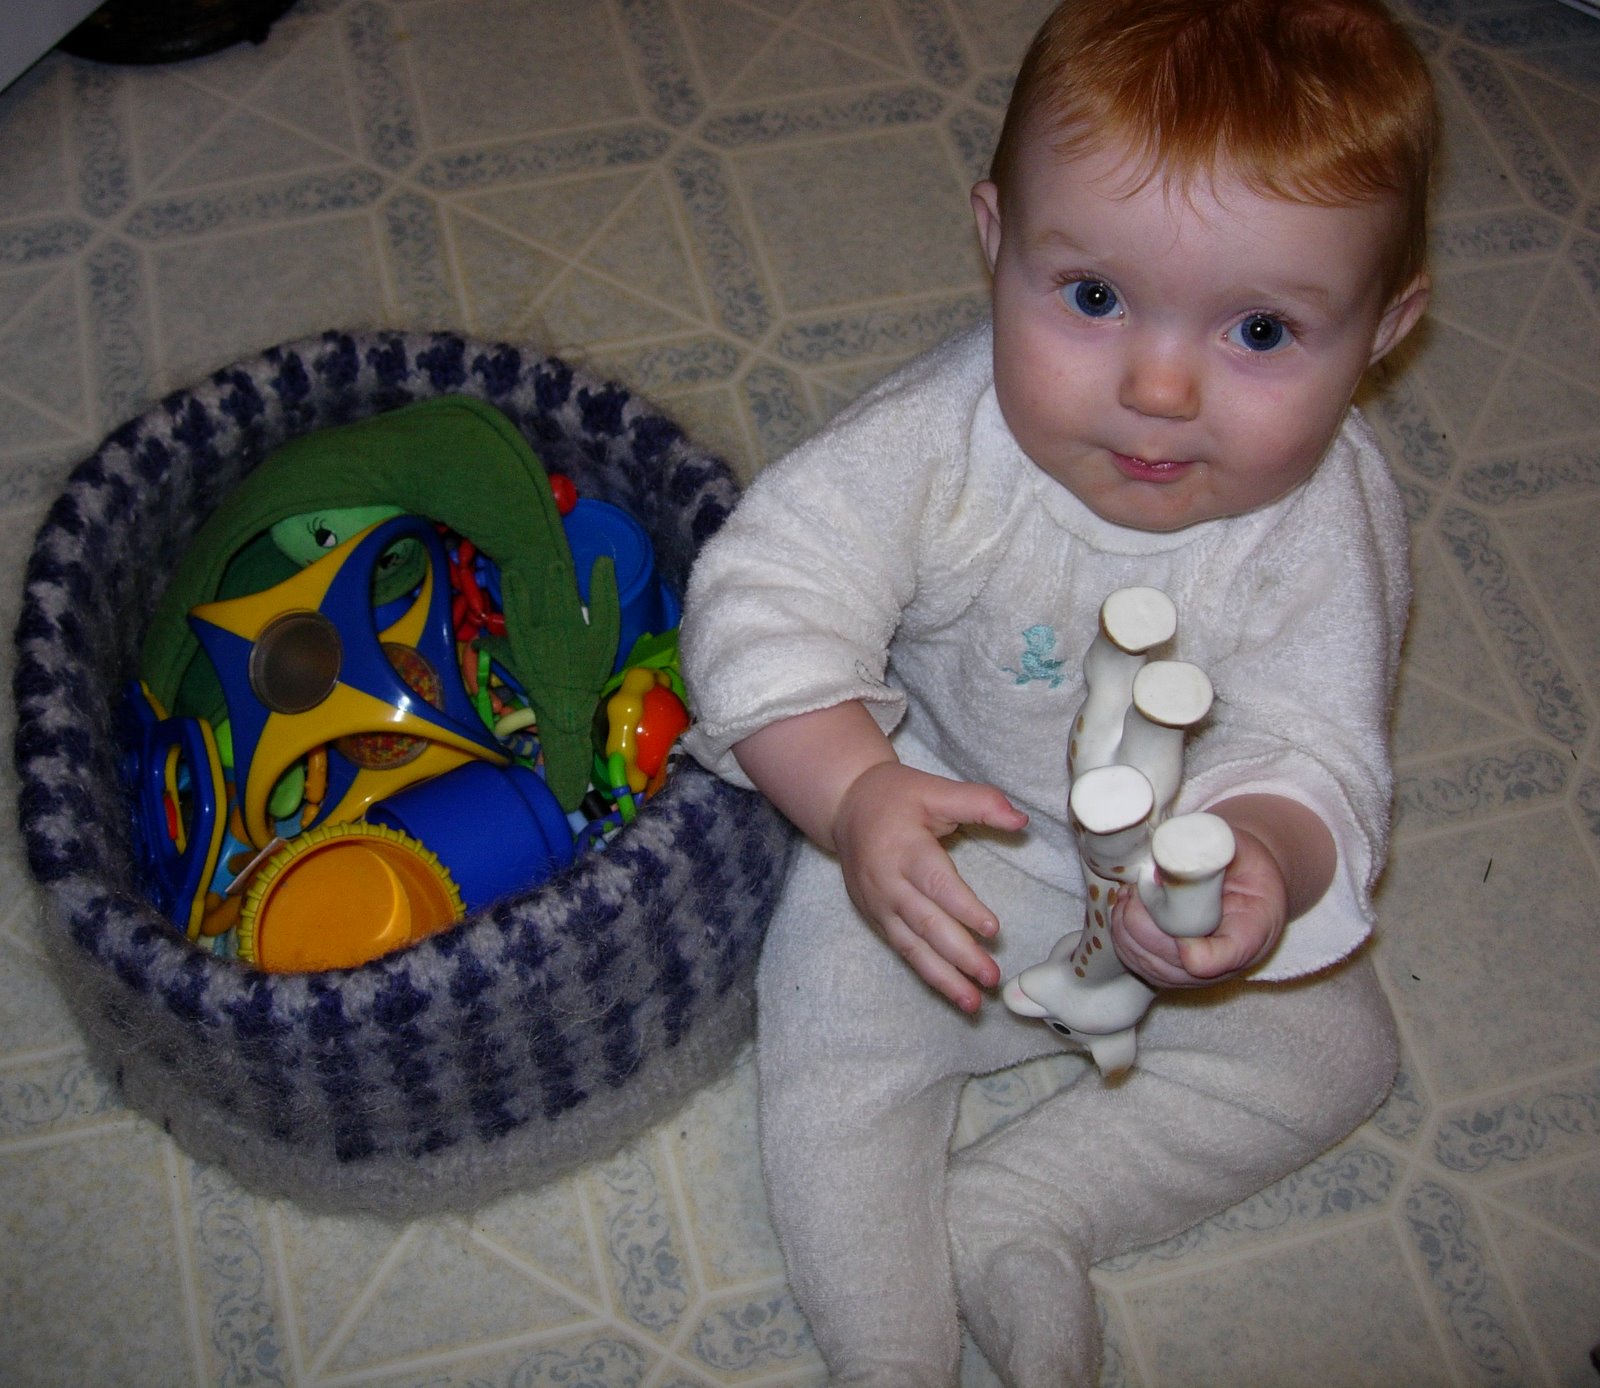
Baby basket?


Or new toy basket?
As with most things, I was just experimenting to see how well it would hold the toys. It was perfect! But I have another sweater in mind for the toy basket...this one is for the cat!
Posted by Picasa