Showing posts with label sweater. Show all posts

Thursday, April 21, 2011

Leggings for Cora...

I finished a second pair of long johns or leggings for Cora the other night. for some reason the crotch area is bunched in a funny way in the photo. Leggings are upcycled from a merino wool sweater.
Posted by Picasa

you can see my unique seam across the middle of the butt. i used orange thread to contrast the pink. The challenge in doing the butt, was that i wanted the ribbed collar of the original sweater to be the waistline for the leggings, but without having to cut it off and resew it back on. After folding a few different ways t achieve a good butt shape, and trying the leggings pinned up on cora, the inside of the leggings was looking like i was experimenting in origami. wished i had thought to take a photo of that. After cora wore these for a day, i noticed the vertical seam in the but was coming apart. ah ha, when i started sewing these a couple months back, i sewed using a straight stitch. i have been in the process of learning about sewing with knit fabrics, and read that there is a steep learning curve when using a sewing machine, perhaps vs. using a serger? i now know that a straight stitch is not adequate for knits, since the fabric needs to be able to stretch, and if you stretch a straight stitch in a fabric that wants to stretch, it just wants to pull those threads apart. It needs boinginess. think of it like a straight stick vs. a coily slinky. the slinky has stretch, and can be extended. if you pulled on the stick, it can't stretch. the stitch has to be able to stretch with the fabric that is also stretchy. there, i said it in a number of different ways, and hope some of that makes some sort of sense to any readers.

Saturday, April 2, 2011

Ellastaria Gets A New Hat


While in the months of being pregnant with our second child, and experiencing difficulty in moving around and being on my feet due to a large belly, I found comfort in sitting down to my sewing machine and focusing my energy on making little garments for our baby to be...probably part of the nesting syndrome. Originally this was to be a little hat for our newborn, however perhaps it was my pattern copy printed too small or not remembering to allow for seams, but the hat was just looking a bit too small for the head of any baby I would have.....so Cora's doll, Ellastaria acquired a new hat. Constructed from a felted cashmere sweater. For the ties, I used the "wonderful worms" from the seams of the sweater. At the moment I cannot remember which tutorial I used, so here are links to two great pilot hats... here and here.

Saturday, March 12, 2011

My First Tutorial!


The sweater after felting, missing one sleeve which was removed before felting for frogging purposes.

Using a vintage boar bristle brush to remove any pilling and liven up the hairs on the wool.

Using a big cast enamel pot from the kitchen for drying and shaping what will be the outer edge of the cat bed. At this point the sweater body has been cut and turned in for a doubled layer if you get what i mean

some of the yarn that was frogged from the unfelted sleeve after it was soaked in warm water to take out some of the kinks, and then hung to dry with a plastic hanger as a weight to also help straighten out the kinky yarn.

Using the other felted sleeve from the washed sweater that will be enough fabric for the bottom of the "pie". Roughly cutting out a general circle shape leaving enough extra on the edges for seam allowance.

Using a permanent marker(recommend chalk for a darker wool), and the same pot I used for shaping, I traced an exact circle onto my roughly cut pie bottom.

Here is what it will look like after tracing.

Estimating what I will need for a seam allowance. Cutting off the rough edge of the circle.

The final bottom piece ready to be hand stitched to the outer part of the bed.

The needle I used for hand stitching with this big yarn. The needle is just something I found at a thrift store and had in my tool cabinet, so it seemed like it would work for the job, and it did work very well.

Working the outer edge in what I think is called blanket stitch.

Half way there and going well...getting excited to see this done!!

Another photo of progress, here you can see the outer edge a little better. I lined the bottom circle flush with the outer side pieces and started stitching.

What the bottom looks like finished!

Finished Inside top view!

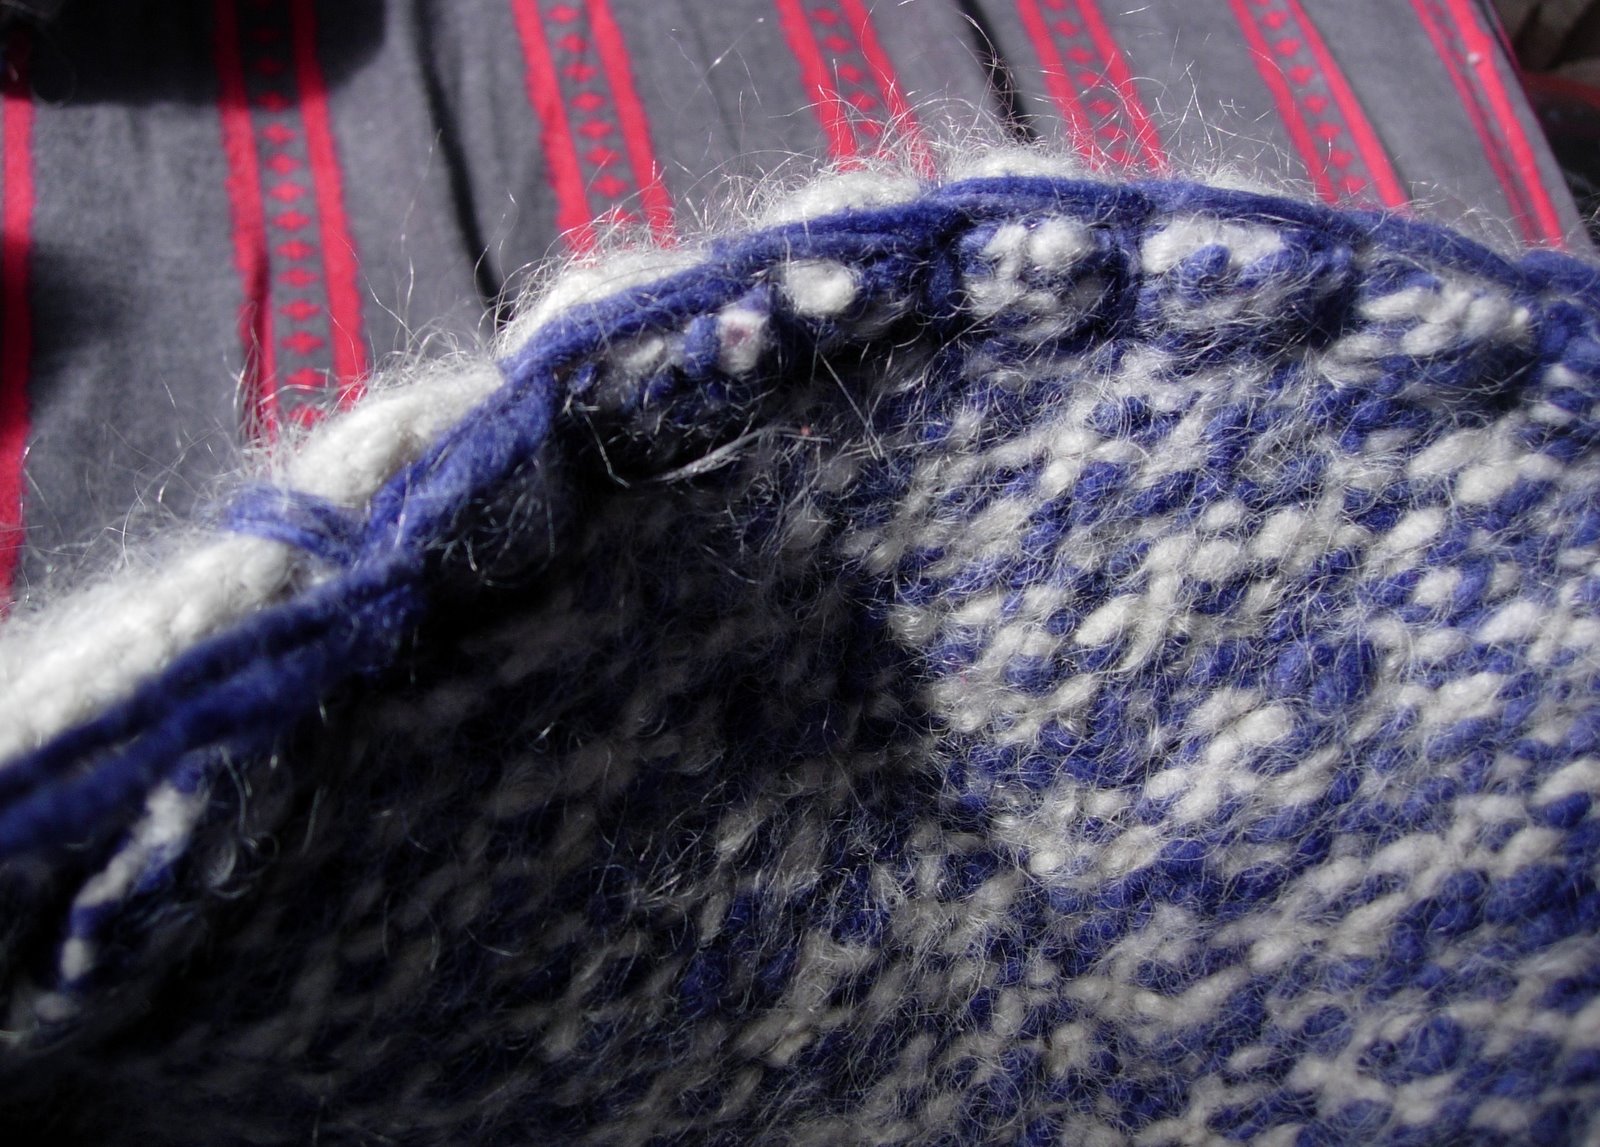
Finished blanket stitched edge!

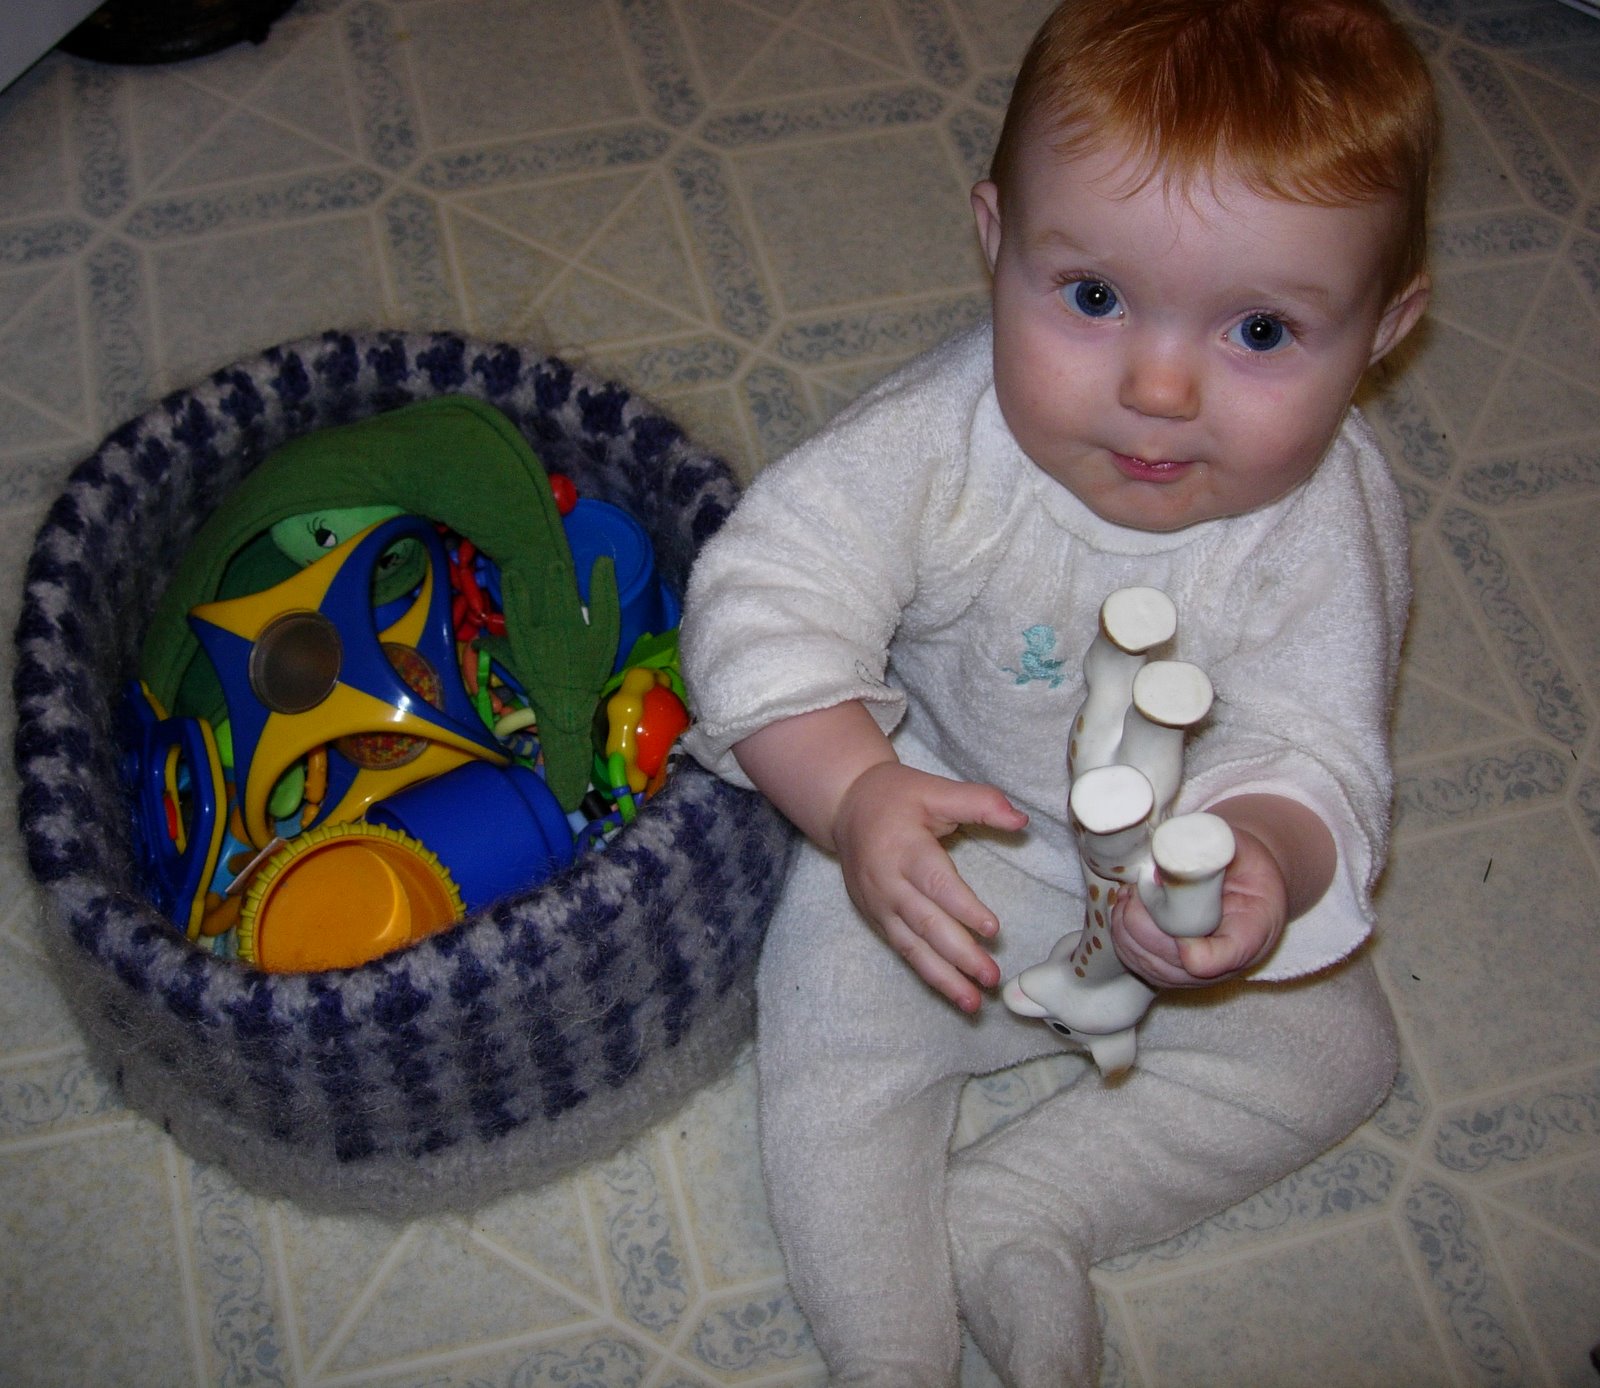
Baby basket?


Or new toy basket?
As with most things, I was just experimenting to see how well it would hold the toys. It was perfect! But I have another sweater in mind for the toy basket...this one is for the cat!
Posted by Picasa